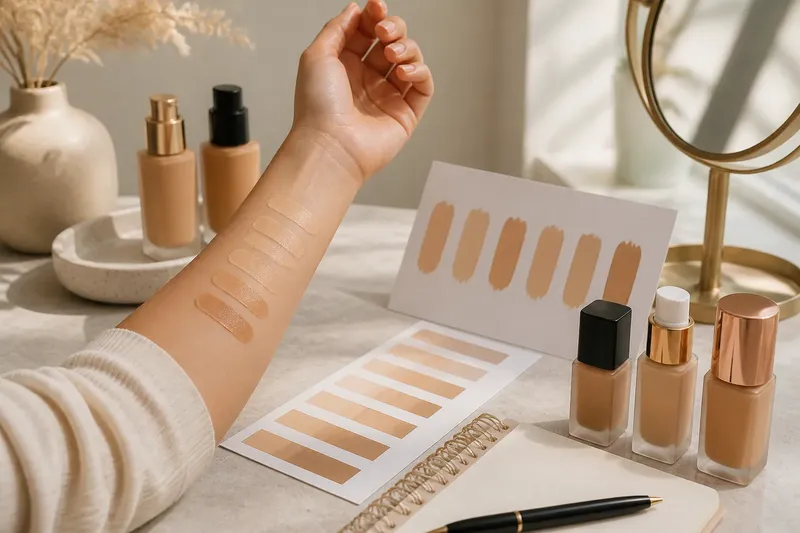
The Flawless-Skin Image Is a Made Image
Learn how lighting, styling, framing, and retouching shape a flawless-skin image, then use a visual checklist to read beauty photos more clearly.
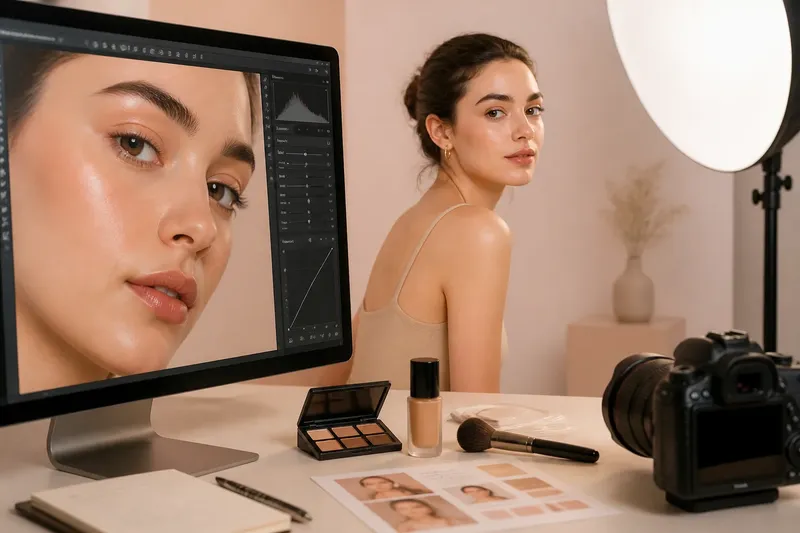
The most common mistake with a flawless-skin image is treating it as a neutral record of what someone’s face looks like. That assumption can turn a carefully produced photograph into an unfair standard for judging your own skin. Light, styling, framing, and retouching all help build the polished result.
Reading those choices does not require special equipment or a verdict about whether a photograph is “real.” It means noticing what the image emphasizes, what it softens, and what sits outside the frame. That kind of visual literacy makes beauty imagery easier to enjoy without mistaking its finish for an everyday view.
What makes a flawless-skin image look so smooth?
A polished skin image usually combines several decisions rather than relying on a single trick. Soft light can blur the appearance of small shadows; makeup can even out color; a flattering angle can reduce visible texture; and retouching may refine the final file. These choices can work together so subtly that the image reads as effortless.
Skin itself has texture and variation. Pores, fine lines, freckles, shine, and changes in tone are ordinary features, but a close, sharply lit photograph can make them prominent. A beauty image may instead favor broad, even illumination and a finish that keeps the viewer’s attention on an overall look rather than on every surface detail.
“Flawless” is therefore not a neutral description. It presents a particular visual result as if smoothness were the natural condition of skin. The useful question is not whether the person looks good, but which choices helped produce the look and what expectations the image invites.
How does lighting change the appearance of skin?
Lighting affects both texture and color. A large, diffused source—such as light softened through a diffuser or bounced from a pale surface—tends to create gentler transitions between light and shadow. Small shadows around pores or fine lines may become less prominent, giving skin a softer appearance.
Harder, more directional light can make texture easier to see by creating sharper shadows. It can also add shine to areas that catch the light. Neither look is inherently more truthful: a camera records a particular arrangement of light, not a complete account of how a face appears in every setting.
Color also shifts under different light sources. Warm light may make skin appear more golden; cool light can pull it toward a pinker or paler impression. White balance—the camera or editing choice that sets what counts as neutral white—can alter the overall cast. When a face looks unusually uniform in color, consider whether the lighting and color treatment may be contributing.
What do styling and framing contribute?
Styling guides attention before a viewer studies the skin. Makeup may reduce visible redness or add a smooth, reflective finish. Hair placement, clothing, background, and jewelry can create a carefully coordinated scene in which the face appears especially polished. The image may be selling a mood as much as a product or look.
Framing determines which information reaches the viewer. A close crop can make skin fill the frame, while a slight turn of the head can change how light falls across the cheeks. A camera held above or below eye level changes facial proportions in the photograph. A clean background removes visual distractions, leaving fewer cues that might make the scene feel ordinary or unposed.
Think about what is excluded, too. A single still image does not show how skin changes with movement, temperature, expression, or time. It cannot tell you how a product feels through a day or how the same face would look beneath different light. The crop is not a flaw; it is a boundary around what the image can show.
How can retouching alter a beauty photograph?
Retouching can range from basic color correction to selective changes that smooth skin or modify features. An editor might adjust contrast, remove a temporary blemish, soften texture, or refine the background. Some changes are difficult to distinguish from lighting and makeup by looking at the finished image alone.
Retouching can also be broader than a visible blur. Local adjustments may brighten the area under the eyes, reduce shine, even out patches of color, or sharpen eyes while leaving surrounding skin soft. A heavily smoothed result may lose natural detail, but subtle editing can preserve enough texture to appear photographic.
It is reasonable to ask whether an image is retouched, but there is not always a reliable visual test. Compression, camera processing, lighting, cosmetics, and editing can overlap in their effects. Treat clues as prompts for careful viewing, not proof about how a particular image was made.
What should you look for in a flawless-skin image?
Use this visual checklist to identify choices in the photograph and decide what conclusions it can support:
- Light and shadow: Are shadows soft and minimal, or sharply defined? Soft, even light can make texture less noticeable, so do not use the image alone to predict how skin looks in other conditions.
- Visible texture: Can you see pores, fine lines, or small changes in surface detail? If texture disappears across the whole face, consider smoothing, makeup, lighting, or a combination rather than assuming one cause.
- Color consistency: Does the face have natural-looking variation, or does its color appear unusually even? Check whether warm or cool lighting, color grading, or foundation could be shaping that impression.
- Edges and detail: Do hair strands, brows, and the outline of the face retain crisp detail while nearby skin looks markedly soft? That contrast may reflect selective editing, though image quality and focus can also affect it.
- Framing and angle: Is the face shown from one carefully chosen angle or in a tight crop? Treat the photograph as one view, not a complete picture of the person’s appearance.
- Styling and context: Are makeup, background, pose, and lighting coordinated? Read the image as a designed beauty presentation, and separate its aesthetic effect from claims about a product’s results.
- Disclosure and caption: Does accompanying text explain editing, filters, or the image’s purpose? Use clear disclosure to understand the presentation, but do not infer that silence means no editing.
Say you see a close-up promoting a dewy complexion: the highlights are broad, the background is plain, and the skin has little visible texture. You might note that soft lighting and a reflective makeup finish could both contribute, while the crop hides how the look reads in other settings. The expected result of this reading is not a verdict on the image; it is a more limited, accurate conclusion about what the photograph shows.
How can you compare two beauty images fairly?
Compare what you can actually observe, not an imagined “before” and “after” that the photographs may not establish. Look for changes in lighting direction, camera distance, angle, expression, makeup, and color treatment. If several conditions change at once, the images cannot isolate the effect of a single product or technique.
Captions matter, but they are not a substitute for visual context. A product claim may describe a finish or intended use, while a photograph presents a styled result. Keep those roles distinct: the image can show how a look was presented, but it cannot by itself establish how a product performs for every person.
For a more grounded comparison, seek images made under visibly similar conditions, or look for a range of unfiltered views with consistent lighting and framing. Even then, people’s skin differs, and a photograph remains a selective representation rather than a universal promise.
Why can’t a photograph tell you how skin looks in person?
A photograph freezes one moment and translates it through a camera, screen, and sometimes an editing process. It may flatten depth, shift color, sharpen some details, or soften others. Screen brightness and display settings also influence what a viewer sees.
In person, skin changes with expression, movement, and surrounding light. A still image cannot capture all those shifts, and a polished image is usually designed to make a particular impression rather than document every variation. That does not make beauty photography meaningless; it gives the image a specific purpose and a limited scope.
What should you remember when a skin image sets an ideal?
Use “flawless-skin image” as a description of a visual style, not as a standard your own face must meet. Notice the production choices, separate appearance from product claims, and remember that a crop shows only what its maker chose to include. These habits help you appreciate a striking photograph while keeping its polished surface in perspective.
The next time an image catches your eye, start with one simple question: what did the photographer make easy to see, and what did the photograph leave out? That question keeps the image interesting—and prevents a crafted finish from becoming an unfair comparison.